Step 3
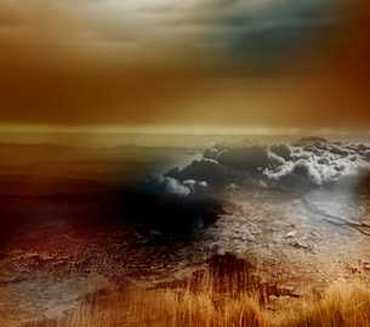
Now let’s load the “cloud” image into Photoshop and drag it onto our document, name the new layer as “cloud”. Desaturate this cloud layer and use a big soft brush to erase the outer portion of the cloud, leave the bits as show below::
Now let’s load the “cloud” image into Photoshop and drag it onto our document, name the new layer as “cloud”. Desaturate this cloud layer and use a big soft brush to erase the outer portion of the cloud, leave the bits as show below::
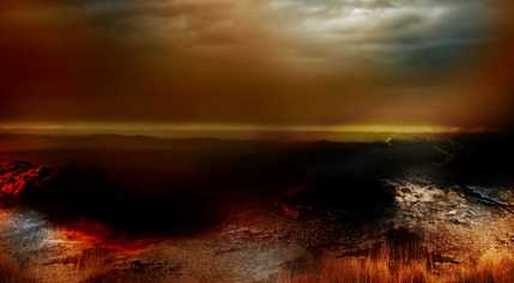
Change the blending mode to “color burn” and you will have the following effect::
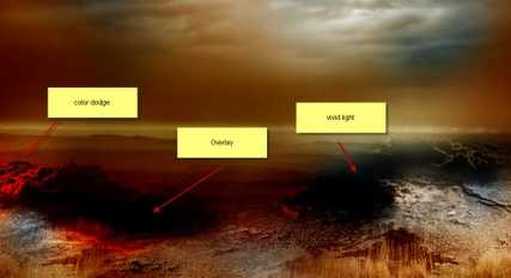
Duplicate this cloud layer a few more times, position the duplicated layer around the edge of the cliff, adjust their blending mode as shown below:
:
:
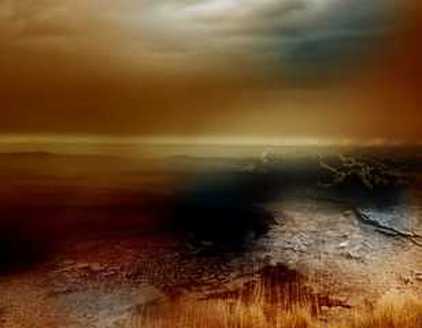
add a curves adjustment layer to it with mask as shown below:
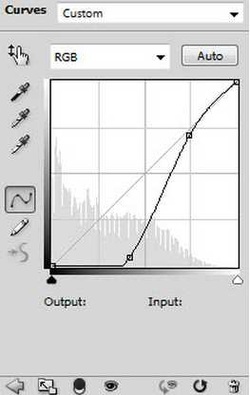
The result is this:
You will have the following effect: