Step 1
|
Before we begin, I’d like to introduce a bit of concept behind this artwork:
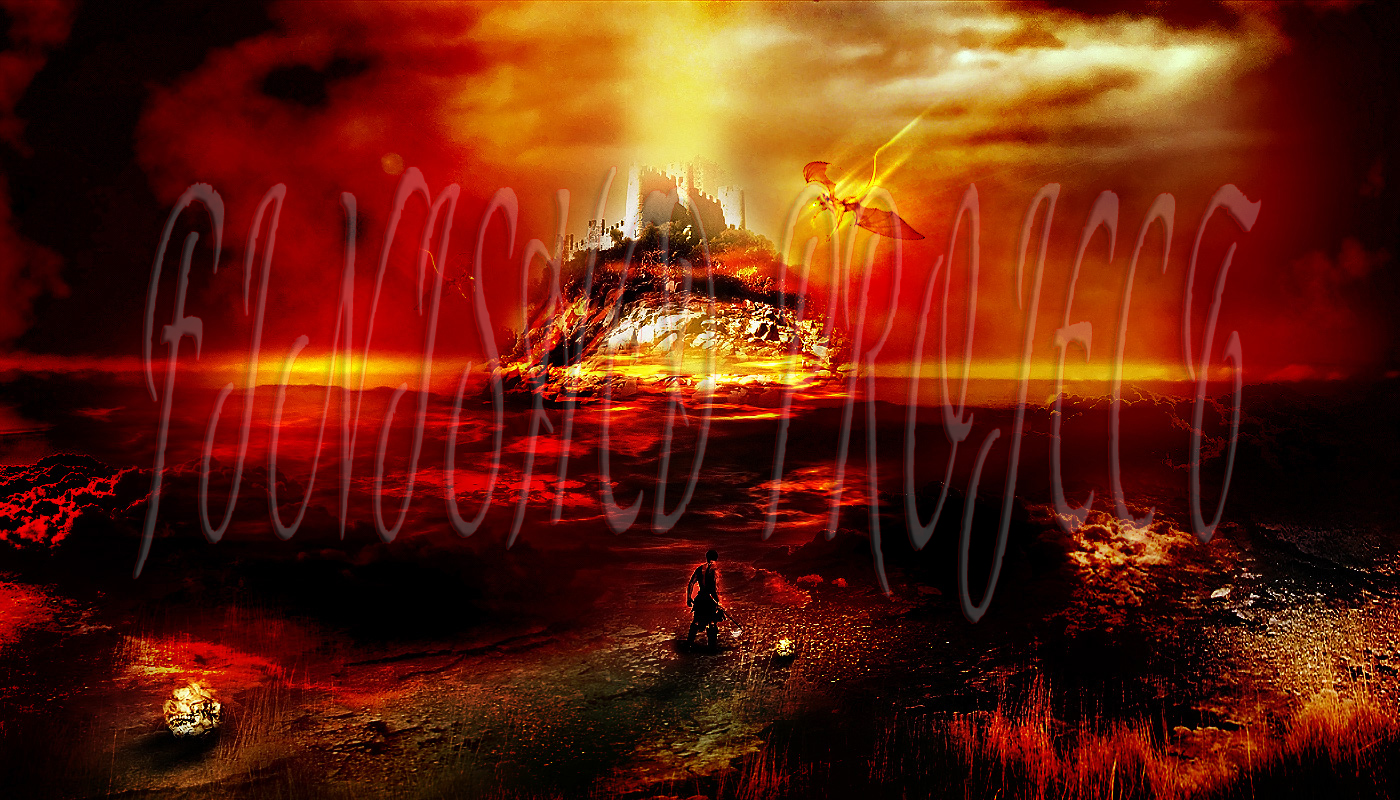
Here is a preview of the final effect: (click to enlarge) |
|
|
Step 1
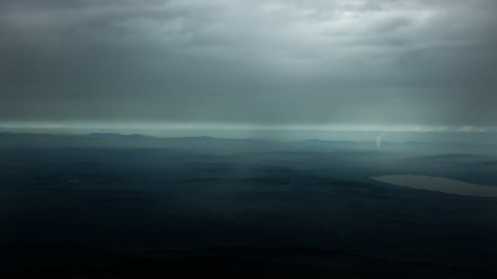
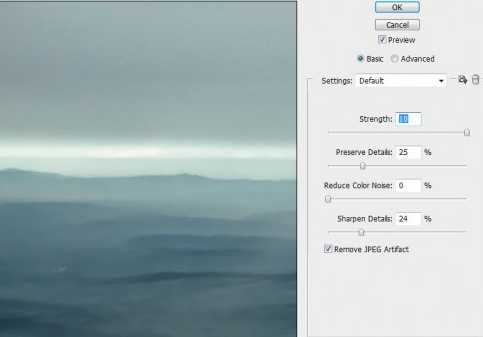
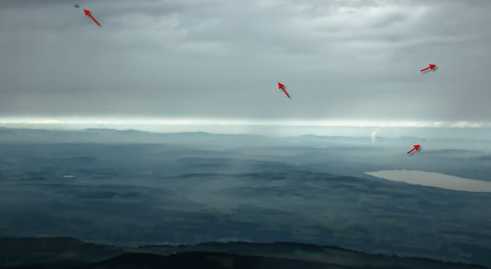
Create a new document size 1400px * 800px, fill the background layer with black. Load the “Foggy Plain” image into Photoshop, then copy and paste the entire image onto our document, resize it to fix the canvas size. Name this layer as “plain”, apply the following “Reduce Noise” settings to it to get rid of the noisy bits and add some gloomy effect to it: |
|
And you will have the following effect:
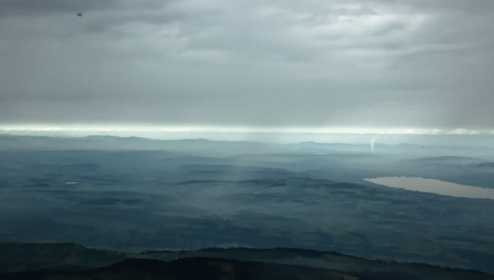
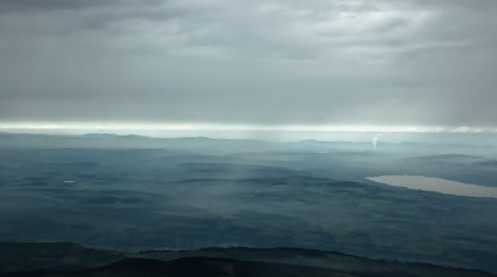
Use the Spot Healing tool to remove the dots on the image:
And you will have the following effect:
Duplicate this plain layer once, change the blending mode of the duplicated layer to “Multiply”, this way will darken the image. Add a layer mask to the duplicate layer to hide the top sky portion so it remains bright:
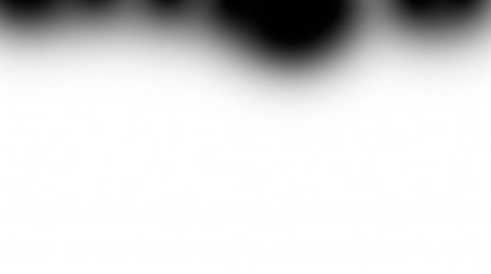
And here is the effect so far: